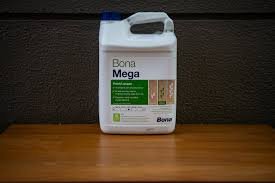
When Mike and Lisa bought their fixer-upper home, they fell in love with its original hardwood floors—well, at least what they could see under decades of wear, scratches, and stains. Instead of replacing them, they decided to restore the floors themselves with Bona Mega, a budget-friendly and professional-grade water-based floor finish.
Inspired by Jeff Devlin’s hands-on approach to home restoration, this narrative-style guide walks you through how they transformed their hardwood floors without hiring a contractor and saved thousands in the process.
Step 1: Assessing the Floor’s Condition
The first step was to determine if the floors could be salvaged. Their hardwood was scratched, faded, and stained, but structurally solid—meaning refinishing was a better option than replacement.
✔ Check for deep gouges or warping—if the damage is too extensive, sanding may not be enough. ✔ Test the existing finish—rub a damp cloth on the surface; if the finish wears off, it’s time for a refresh. ✔ Look for loose boards or gaps—these can be fixed before refinishing.
💡 Pro Tip: If your hardwood has already been sanded multiple times, be careful—too much sanding can thin out the wood too much to refinish again.
Step 2: Preparing the Space
Before starting, they needed to prep the room for sanding and refinishing. ✔ Remove all furniture and rugs—leave no obstacles behind. ✔ Clean thoroughly—dust, dirt, and debris can ruin the final finish. ✔ Seal off doorways and vents—to keep sanding dust from spreading to other rooms. ✔ Check humidity levels—Bona Mega works best in consistent indoor temperatures.
💡 Pro Tip: Use plastic sheeting to cover doorways and an exhaust fan to ventilate dust out of the room.
Step 3: Sanding the Floors
Since the old finish was worn and scratched, they needed to sand it down to a smooth, fresh surface. ✔ Use a drum sander for large areas and an edge sander for corners. ✔ Start with 36-grit sandpaper to remove old finish, then progress to 60, 80, and finally 120-grit for a smooth finish. ✔ Vacuum and tack-cloth after each pass to remove dust. ✔ Wear a mask and safety glasses—sanding creates fine dust particles.
💡 Pro Tip: If your floors have only light wear, you can try a buff-and-recoat method instead of full sanding, saving even more time and effort.
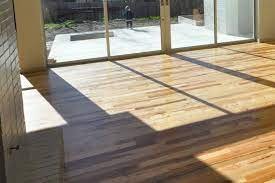
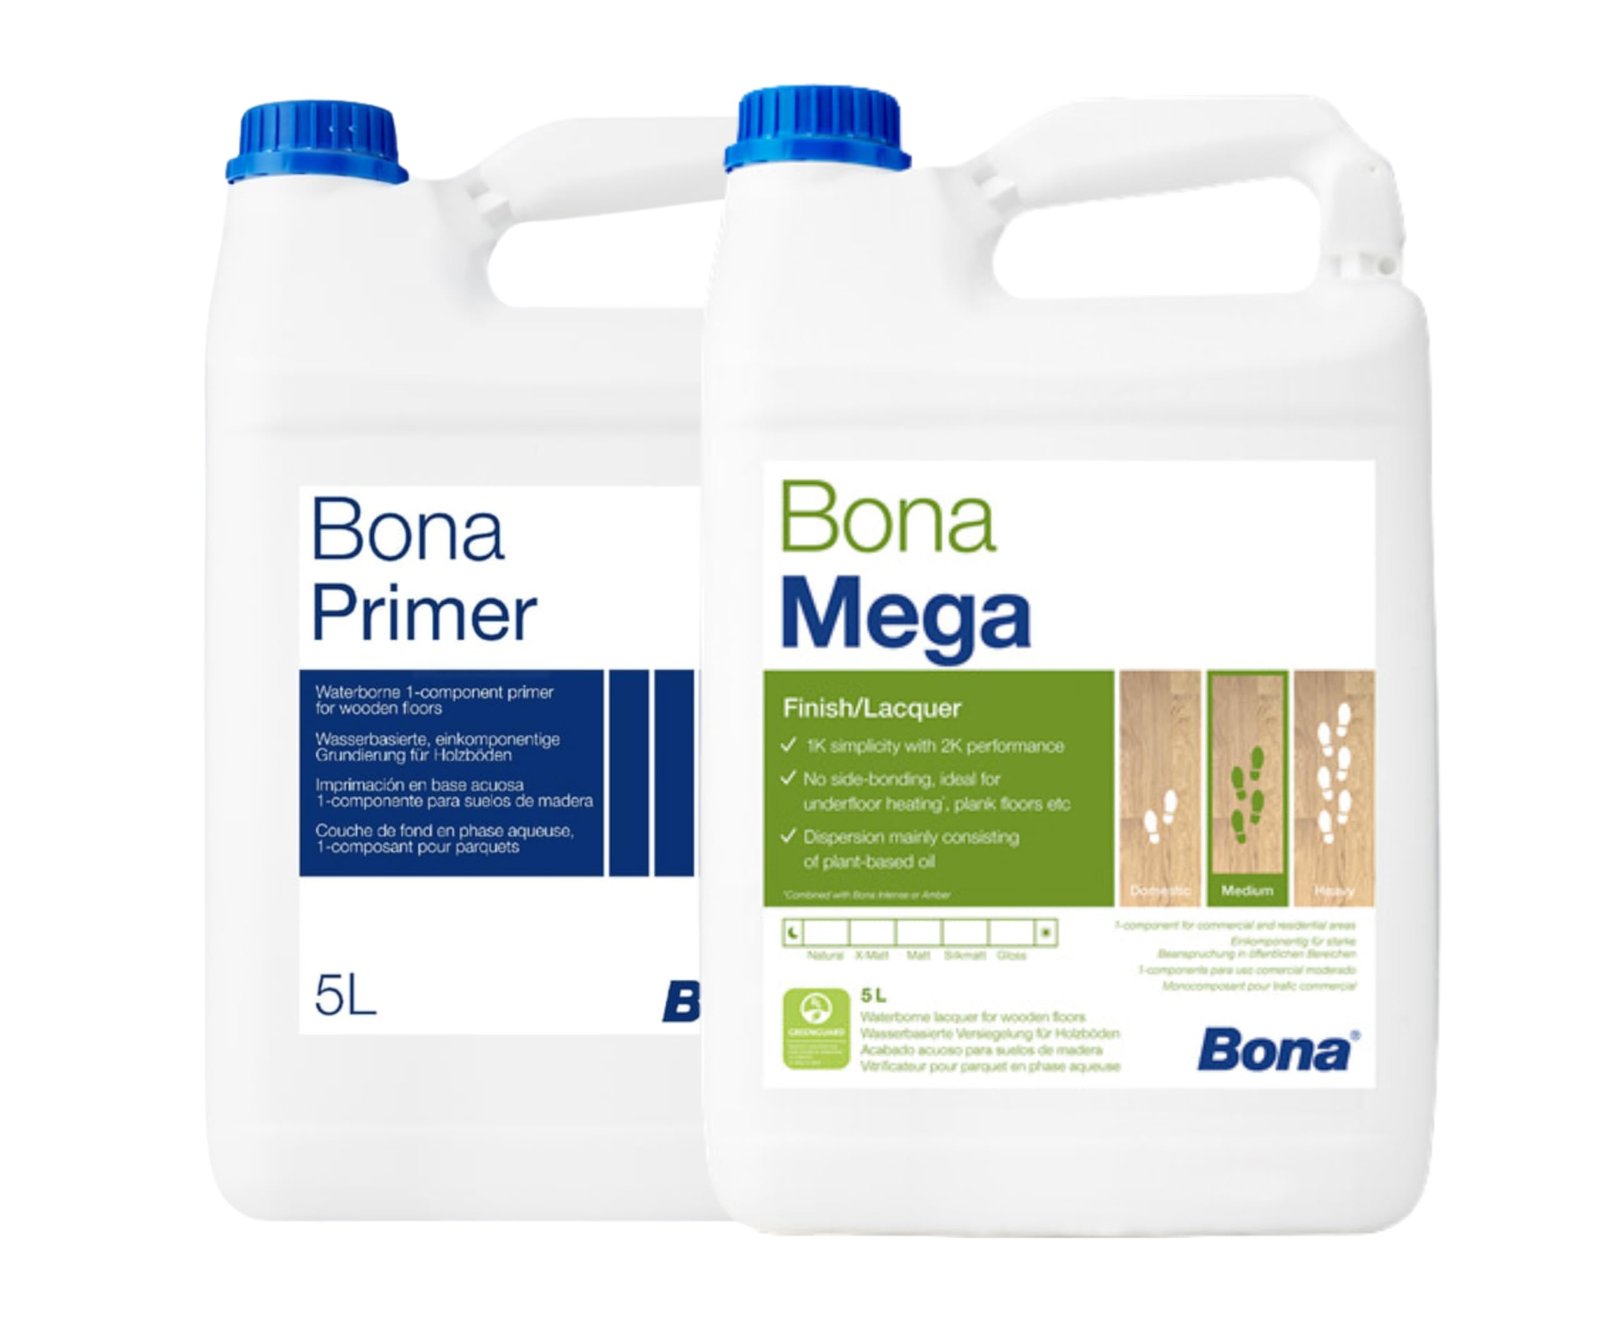
Step 4: Applying Bona Mega for a Durable, Satin Finish
After sanding, it was time for the real magic: applying Bona Mega, a water-based polyurethane finish known for its durability and ease of use. ✔ Apply Bona Mega with a synthetic pad applicator—spreads evenly and smoothly. ✔ Work in sections and maintain a wet edge to avoid lap marks. ✔ Let dry for at least 2-3 hours between coats. ✔ Apply 2-3 coats for optimal durability and a rich, natural look. ✔ Avoid walking on floors for 24 hours and heavy furniture for 7 days.
💡 Pro Tip: Want a more matte, natural finish? Choose Bona Mega Extra Matte instead of the standard satin or gloss finish.
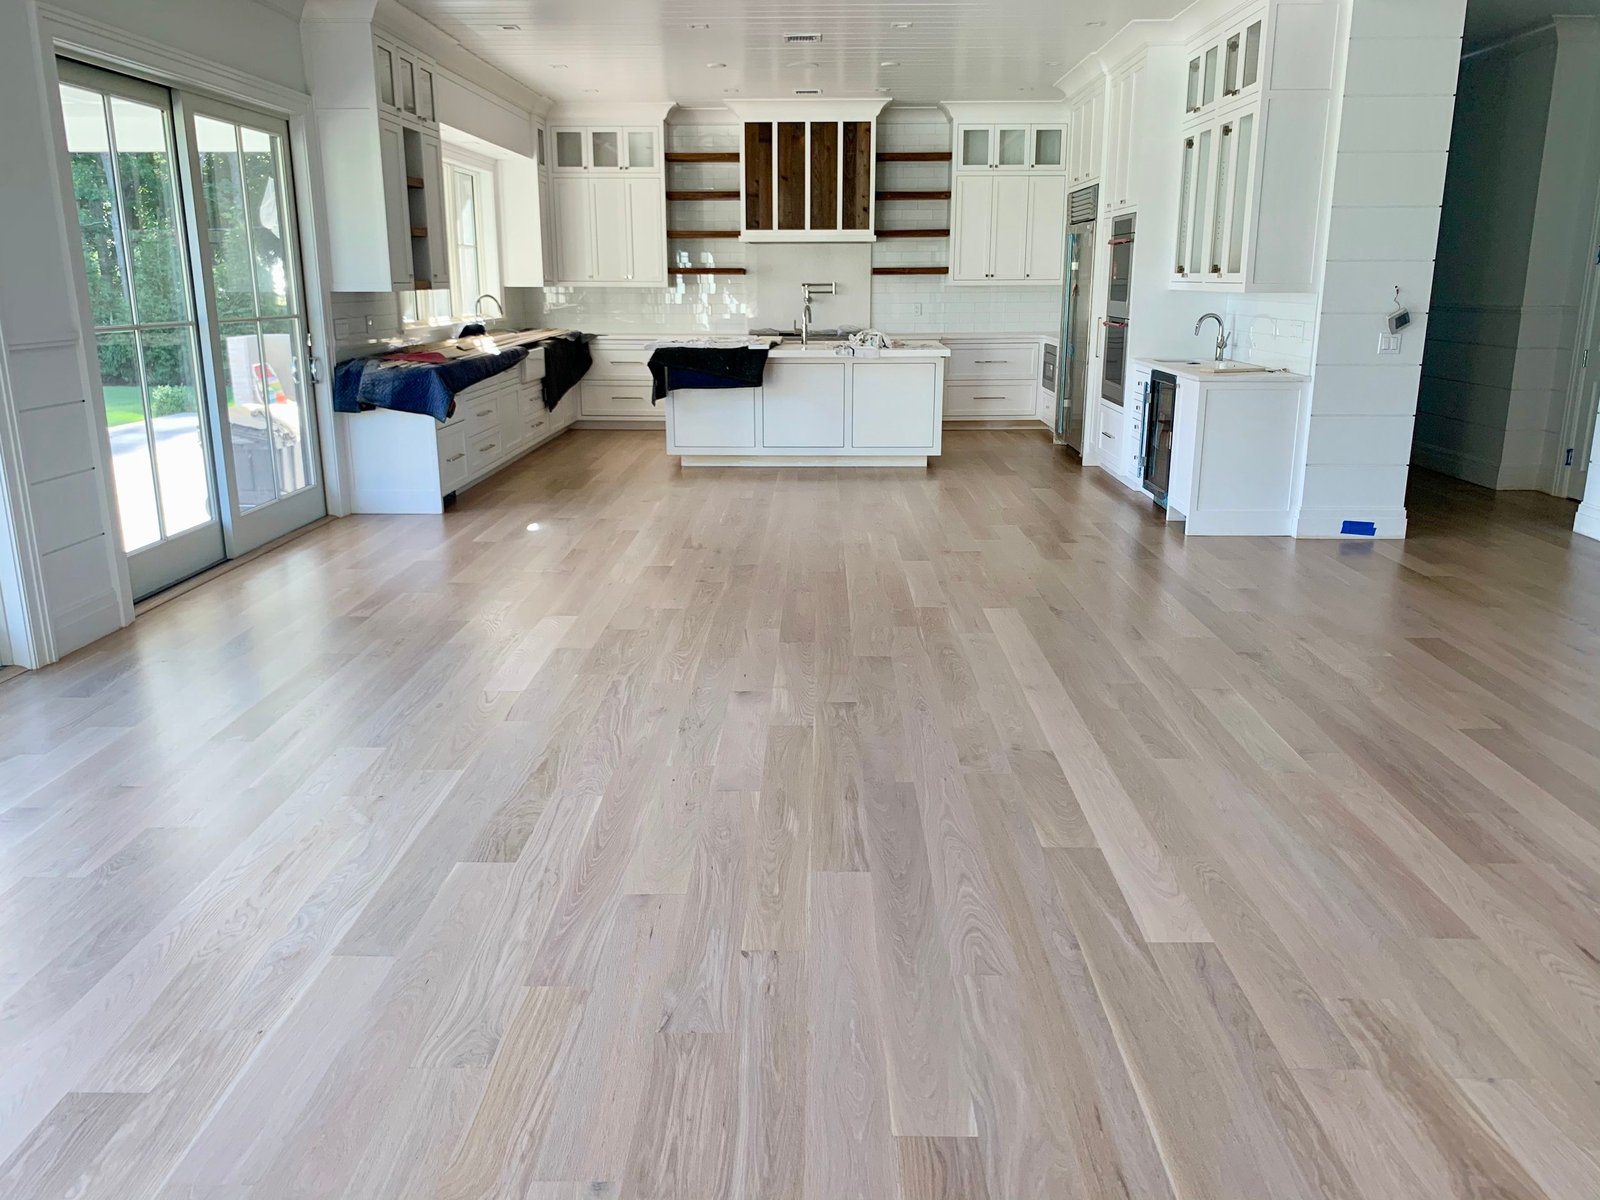
The Transformation: A Like-New Floor Without the High Cost
After a weekend of hard work, Mike and Lisa restored their floors to their former glory—without the $4,000+ price tag of professional refinishing. Instead, they spent around $500 on materials, including: ✔ Bona Mega water-based finish – $120 per gallon (covers ~600 sq. ft.) ✔ Drum and edge sander rental – $120 for a weekend ✔ Sandpaper (various grits) – $50-$100 ✔ Applicators, tack cloths, and respirator masks – $50
💡 Pro Tip: Investing in a high-quality finish like Bona Mega ensures a long-lasting, professional-looking result without paying for a contractor.
Read More in Budget Kitchen Essentials Blog
- 6 Smart Benefits of Hiring a Home Improvement Company in Rathdrum ID
 Learn how a Home Improvement Company in Rathdrum ID enhances your home with expert upgrades.
 - Kitchen Cabinet Fitting Contractor in Sagle ID: A Practical Guide for Homeowners
 Upgrade your kitchen with expert cabinet fitting. Discover how a Kitchen Cabinet Fitting Contractor in Sagle ID transforms your space.
 - Bathroom Renovation Installer in Sandpoint ID: Expert Answers for Homeowners
 Planning a bathroom remodel? Discover expert answers from a Bathroom Renovation Installer in Sandpoint ID to help you design, budget, and complete your renovation successfully.
Final Thoughts: Is Bona Mega the Right Choice for Your DIY Floor Refinish?
If you’re looking for an affordable, DIY-friendly way to refinish hardwood floors, Bona Mega is an excellent choice. Here’s why: ✔ Water-based, low VOCs—safer for homes with kids and pets. ✔ Dries faster than oil-based finishes—less downtime before using the space again. ✔ Resistant to scuffs and scratches—ideal for high-traffic areas. ✔ Works beautifully on all wood species—oak, maple, walnut, and more. ✔ Budget-friendly compared to professional refinishing costs.
Mike and Lisa’s DIY success story proves that with the right tools and products, you don’t need a professional to achieve stunning results. If you’re considering refinishing your floors, grab some Bona Mega and get started on your budget-friendly home upgrade today!